
Wildlife Photography Equipment
What's The Most Valuable Piece Of Gear?Photographers, in general, are gear nuts.
For some reason, photographic equipment has a very powerful attraction. This is enhanced by massive advertising budgets used by the main gear manufacturers.
Part of the attraction is that, as time goes by, the camera companies do manage to make a better mouse trap.
Eye detection auto focus, increased file sizes, better noise management, more frames per second, etc. They just keep getting better, which, in turn, creates a massive wave of "trade up" pressure.
Compare that to any other sport. Golf, tennis, running, diving, etc. Yes, there are improvements, but those changes are minor, Lighter shoes, carbon fibre rackets, carbon fibre shafts, modern silicon technology, etc. But essentially, the mousetrap hasn't really changed. Just the advertising.
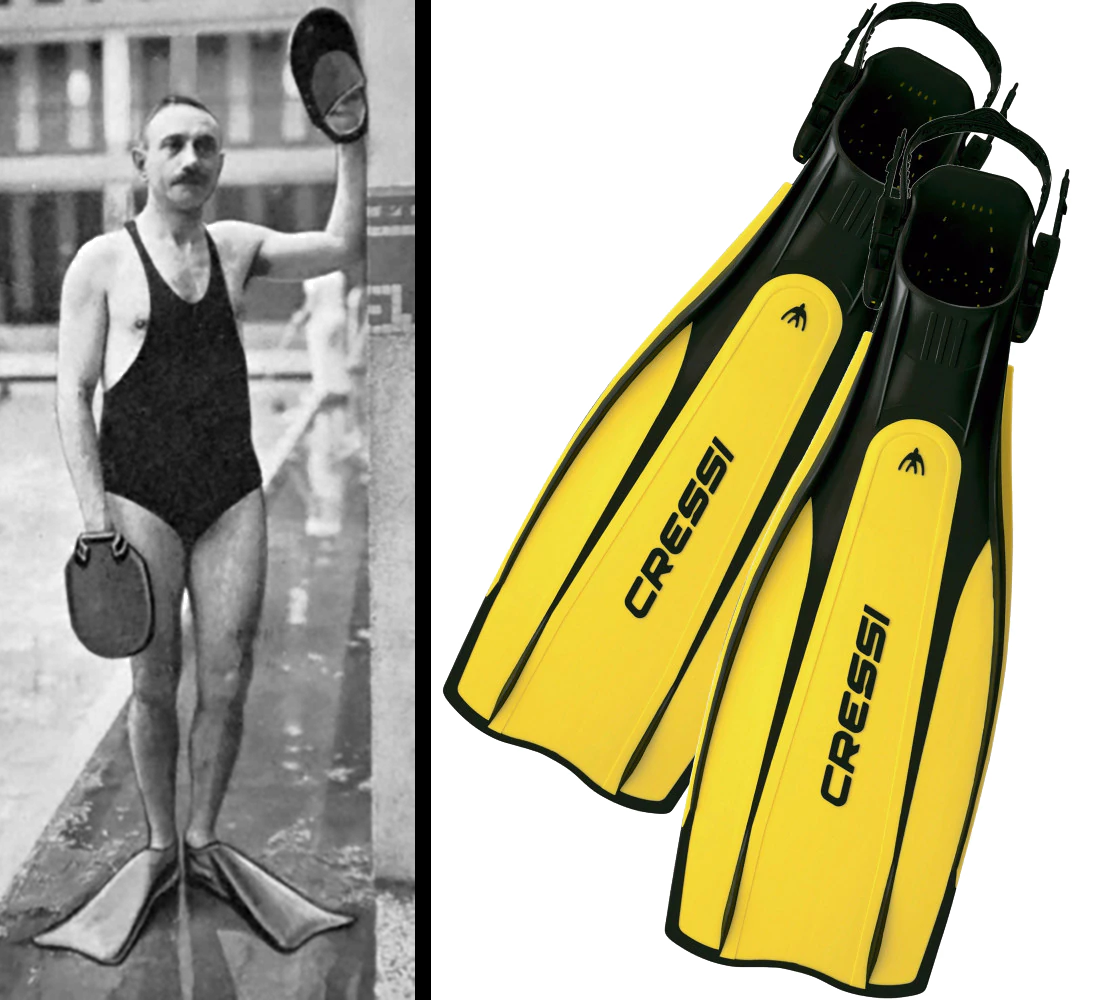
Not that different from the original sandshoes & plywood fin
However, just take a step back. What, in the big picture (pun intended) has changed? Everything has become easier and more accessible. Anyone can go out and get a tack sharp photo of a bird in flight. In the not so long ago bad old days, getting just one sharp shot of a bird in flight was a miracle.
This improvement in gear has created a massive explosion in the number of sharp, well exposed images, all displayed online for an international audience.
With quantity, quality does not automatically tag a ride.
What's the one thing that hasn't changed? The difficulty in finding a subject.
That's why bird photography is so popular. They're so easy to find. You can stick your lens out your kitchen window and get a bird photo. Walk anywhere and you will find not just one, but multiple species of birds, even in mid winter.
But when it comes to less common animals, finding a subject is just as difficult as it was 20, 30, 50 years ago.
No matter how great your gear is, no matter how up to date and modern, no matter how eye-wateringly expensive it is, if you can't find a subject you're pretty much stuck.
Enter the most important piece of equipment in a wildlife photographer's arsenal.
Binoculars
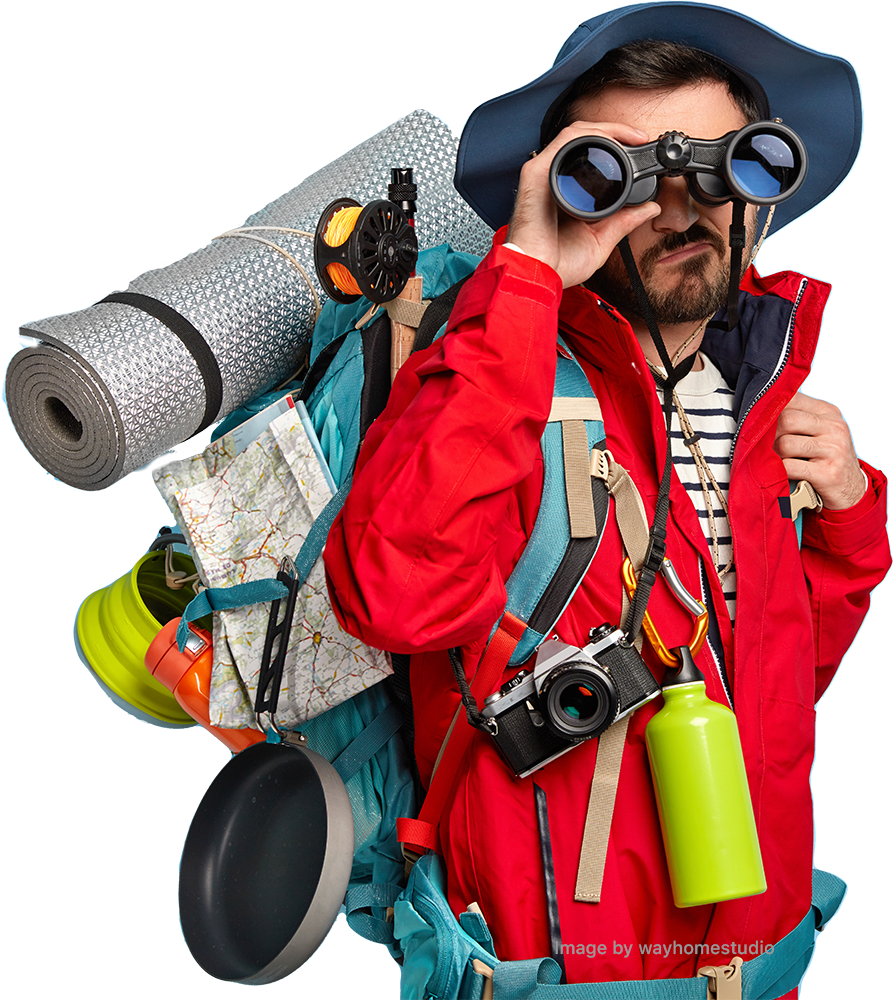
Like, fully geared up, brosiph
If you can't see your nearest critter, especially if they see you first, you're not going to get to use your impressive stack of expensive camera equipment.
It's not until you start using binoculars that you realise how much you must have missed in the past.
The triangle tips of ears perked above grass, movement in dark shaded corners, a pattern that doesn't fit the pattern.
If you can see a critter well before it sees, hears or smells you, so much the better. You can place yourself in a spot that will allow you to observe, and photograph, your subject without them detecting you, or at least reduce your impact to the minimum.
Therefore, it could be stated that a person with a cheap, low end camera setup using binoculars has a much better chance of obtaining a result.
It may be a noisy pic, it may have a less out of focus background, it may not be as super crisp when pixel peeking, but you'll have an image. A slightly lesser quality image of a wolverine is many times better than no wolverine image, right?

At $10 these probably aren't a good choice
Of course, comparing yourself to others is not much use as there are too many factors involved. But compare yourself to you with binoculars then you without binoculars, well you can see (again, pun intended) how you can rapidly improve your end results.
Buying binoculars can be a bit daunting, with all those numbers and a huge range of prices, from cheap $10 units to an eye watering $4k or more.
Things to take into account are weight, price (of course), maximum aperture size (wider=better for dusk/dawn use), weatherproofing and size.
For a number of years I used a pair of Nikon binoculars that are not waterproof. A quick dip in a lake had me without binoculars for 3 weeks while they marinated in a bag of rice. They eventually came good, sort of.
They are very compact, light weight (I barely know I'm carrying them in my hoodie front pouch) and do the job. Plus, they're camo coloured, which is super important on the fashion side (cough). They also fit between the hand brake and centre console of my car, so always on hand.
I recently upgraged big time but I still use the small Nikons now under certain circumstances (short walks on a bright day). The new binoculars are much brighter, sharper and therefore far more enjoyable to use, which means that the new ones get used more as there's so much more incentive to get them out when you know you won't be struggling to see in the pre-dawn gloom or when you need to pick out details of a distant subject.
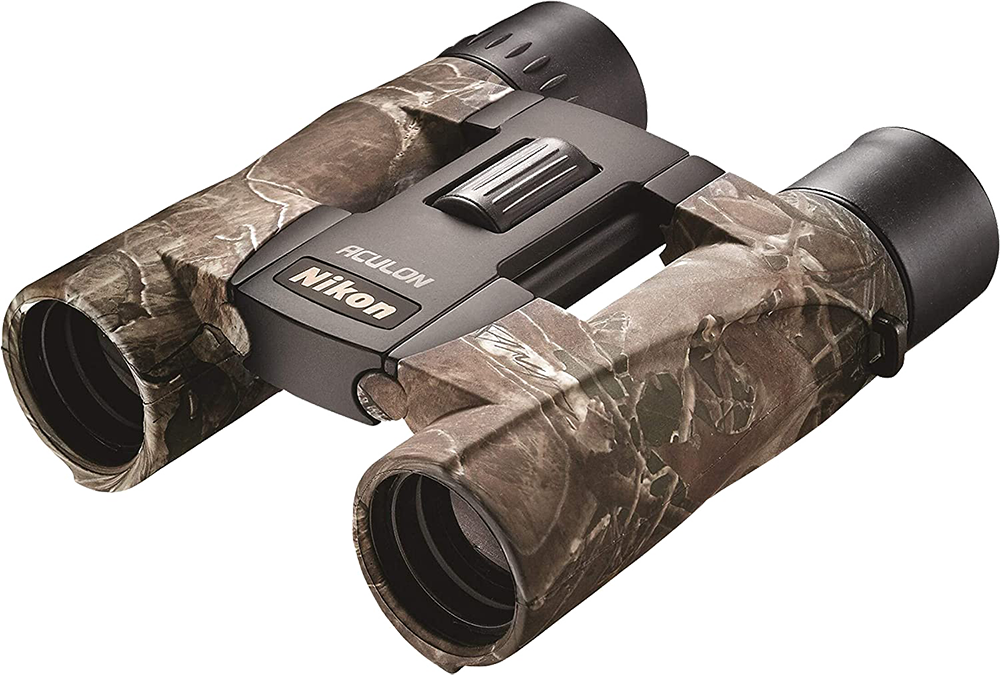
10x25 super cool camo 'nokkies. Compact, light, cheapish around $150-$180
The important point is that a cheap pair of binoculars are better than none. Also, if they're super cheap, think how much better you'll feel when you drop them off a cliff, compared to someone doing the same thing with a pair of $5k Swarovski or Zeiss optics.
Before you shell out any amount of money for binoculars, there are a couple of things to consider.
When scanning a website that sells binoculars, you will notice a pair of numbers (such as 8x32 or 12x50) and two basic designs, a wide dog-leg style (like the ones you would see in an old war movie) and a slimmer inline design. Lets look at the numbers first.
The numbers you see are, first, the magnification of the image you see through the binoculars. The second number is the diameter of the front lens element. So a pair of binoculars that are listed as 10x25 have a magnification of 10 times what your eye sees and a front element that is 25mm in diameter.
Magnification
Magnification numbers compare the image you see with the naked eye with the same view through binoculars. So a 8x increases the size of the subject by 8 times, a 10x by 10 times, etc.
The higher the magnification, the larger your subject will appear and the more detail you will see, but also the harder it is to keep your binoculars steady. High magnifications can have you feeling like a seasick sailor. You may also have difficulty keeping your subject in view (such as a bird moving rapidly across the sky) or re-finding a static subject.
Hunters often use high magnification binoculars, but also, to make them more useable, they will mount them on a tirpod to keep their view steady. High magnifications are great for picking out animals at a distance, such as a photographer looking for a snow leopard 2km away, but keeping the image steady or re-finding a subject is much more difficult without a pesky tripod.
They're also usually heavier and bulkier than binoculars with a lower magnifications, although that will also depend on the second number, the size of the front element.
Three standard magnifications are 8x, 10x and 12x, although you will find some brands that have weird in-between numbers such as 9.2x or lower magnification such as 3x for theatre glasses or higher such as 60x for astronomy. But for wildlife photographers, 8x, 10x & 12x are the generally accepted useful ranges of magnification.
Birdwatchers often prefer 8x, due to the fact that a fast moving subject, such as a streaking falcon, is easier to keep in view. Besides, birdwatchers want to do just that, watch. But we want to find then photograph our subjects, a slightly different scenario.
For myself, I like the compromise of 10x magnification. Still "hand-holdable" but providing more detail for distant subjects than an 8x binocular and a steadier view than 12x.
Others will prefer 8x for a steadier view, or 12x for those wide open spaces where open fields allow spotting critters a kilometer or more away.
Finding a store that allows you to comapre magnifications, brands and models in person is what you need.
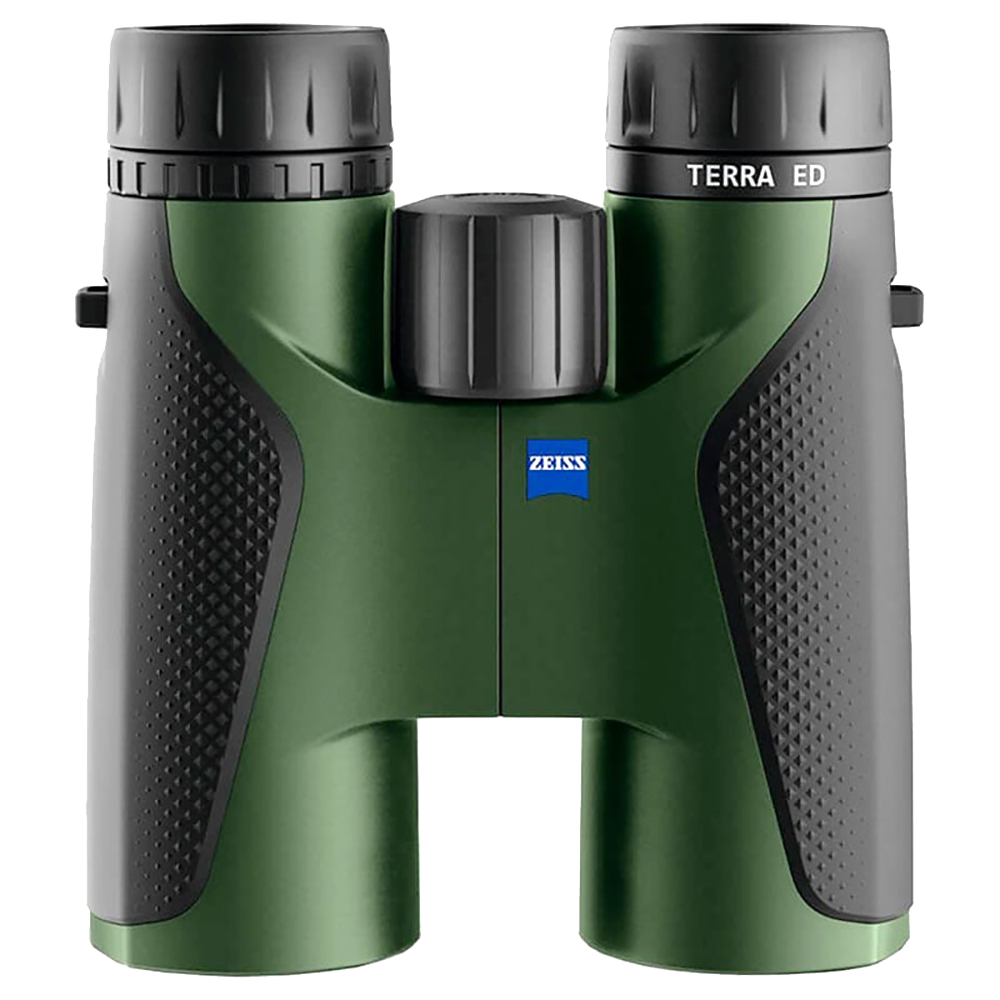
ZEISS 10x32: A step up in quality & weight at around $700 & 510g
Aperture
The diameter of the front element is important in that the larger the number, the more light gets back to your eye. Same with photographic lenses. You know that a fast lens, such as f2.8, will allow you to keep shooting in much lower light levels due to the fact that more light is trasmitted back to your camera's sensor. The same applies to binoculars.
Therefore, the higher the second number the larger the diameter of the front element and the more light is transmitted which is especially important when scanning for animals before sunrise and after sunset. Also, the higher the number the heavier the optics will be, and bulkier too, of course.
Just look at the size and weight of a 400mm f2.8 vs a 400mm f5.6. The 2.8 is much bigger, heavier and WAY more expensive. But it performs beautifully when a 5.6 has long packed up and gone back for a beer.
My current choice is a 10x42, allowing for decent magnification in both open prairie and dense boreal forest, while also providing superb useability well before sunrise and well after sunset. Sure, they're not as comapct and light as a 10x25 or 8x25 but the wide front element makes for much more efficient viewing in any light level. With less eye strain and greater "useability", the more likely you will pull them out and find those critters.
You can scan a scene with a long lens to do a similar job, but binoculars are different. They have the same (or more) magnification but provide that 3D benefit produced by viewing with two eyes, not just one. They're also less tiring, compared to hand holding a long lens.
If you don't already own a pair, shop around (good deals can be had now and then), do some research on those pesky magnification and optic numbers, compare prices and don't forget to angle towards light and small. The last thing you need is a house brick around your neck.
Styles
As noted above, there are two styles of binoculars, the "dog-leg" and "straight" design.
The "dog-leg" or offset design has the two front elements set in a widely spaced pair of optical cylinders which step in to a narrower set of cylinders that can be adjusted to fit the distance between your pupils.
Where the design steps in is a pair of prisms that bounce the light back and inwards then on again into your eyes. These are called Porro Prisms, after their Italian designer, Ignazio Porro. This Porro Prism design allows for a wide field of view and a "3D" appearance to your subject, but they are large, clunky and a bit intolerant to rough handling (the prisims can go out of whack).
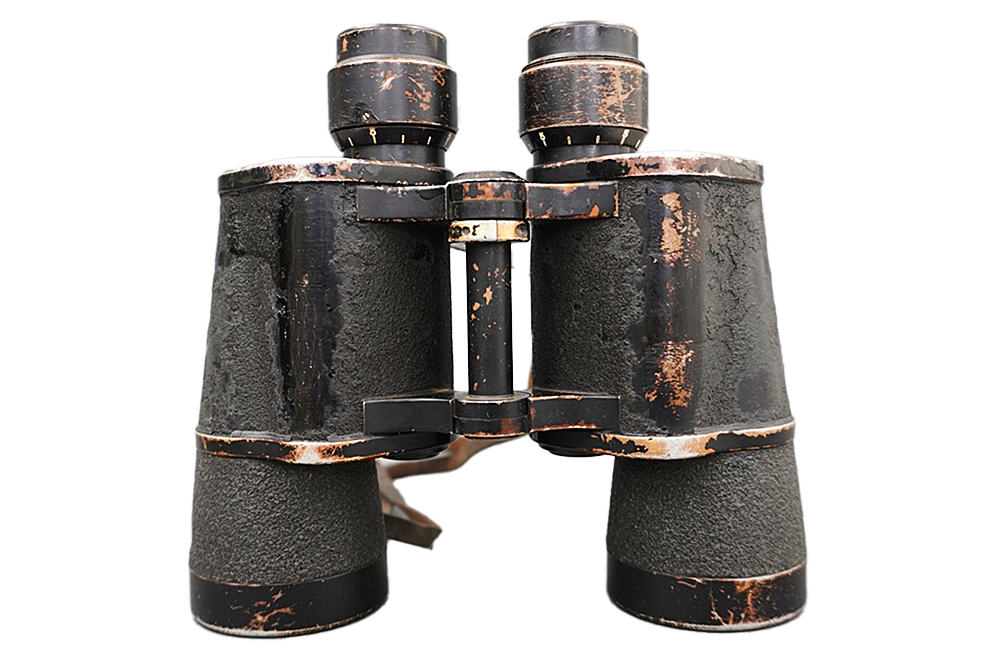
Porro Prism design: 7x50 Kriegsmarine Binoculars made in Jena, Germany, by Carl Zeiss
This design has been around for a long time (the binos shown above are from WWII) but has lost ground to the more modern Roof Prism which, like a camera lens, has the light move directly back into your eyes.
All of the binoculars shown on this page, except for the WWII binoculars shown above, have the roof prism design. Roof Prism binoculars are, as you can see, much more streamlined and smaller. They are also lighter and generally more robust, taking those inevitable knocks and bumps that wildlife photographers inflict on their gear.
The downside is that this design costs more to produce, has a narrower (in most cases) field of view and are often less clear than porro prism designs.
The more expensive "top of the range" roof prism binos claw most of that ground back.....except for the price part. They can get eye-bleedingly expensive.
You will find that many, or most, experienced wildlife photographers use roof prism binoculars as they are smaller, slimmer and lighter.
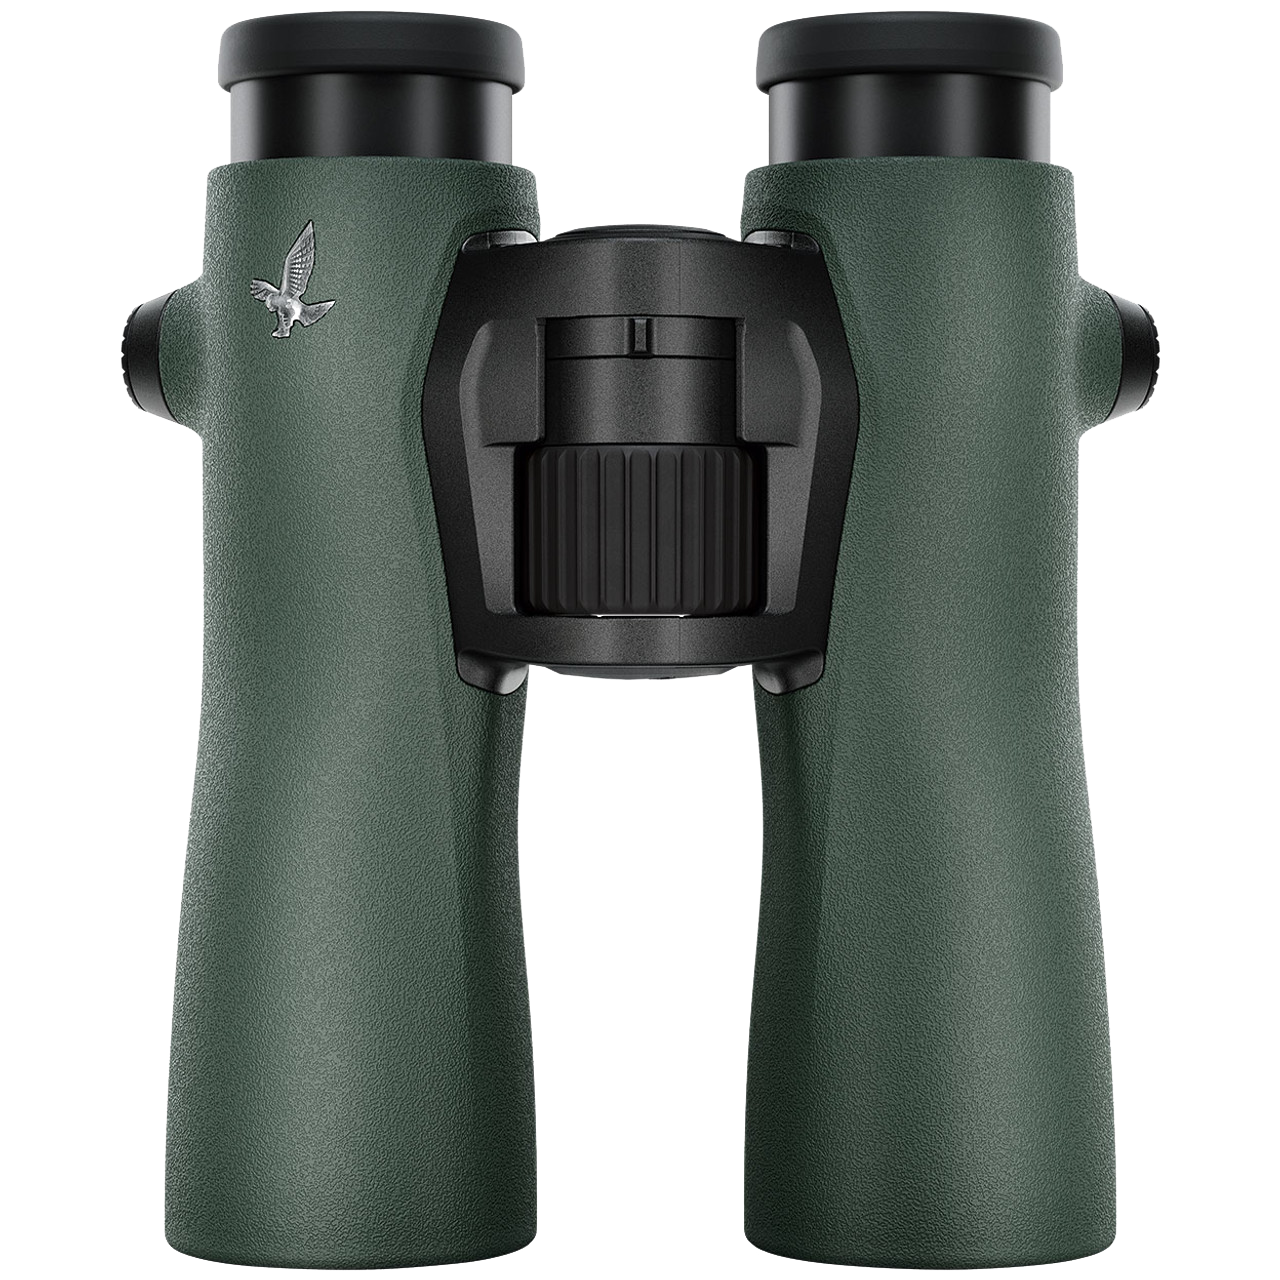
Swarovski NL Pure 10x42 binoculars: Mega $$$ at $4-5k & 850g. But oh, baby...
There are also spotting scopes, camera adaptors for binoculars and monoculars, phone adaptors and other accessories, but that's another subject and more for specialised use.
The bottom line is: get a pair of binoculars and use them.
Find a pair that suit your budget and use them consistently. Do some research first to learn what suits your scouting style and subject matter. Check on weight, optical design, ergonomics (do they suit your hands, will they allow free use of heavy gloves, if you shoot in sub zero temperatures) and price. They're going to get wet so make sure that they're waterproof.
Once you've purchased your binoculars, use them. Stop the car or stop walking. Scan your surroundings slowly, with patience. Listen. Look. Wait. Look again, slowly scanning your near and far surroundings. You'll suddenly start finding all sorts of critters.
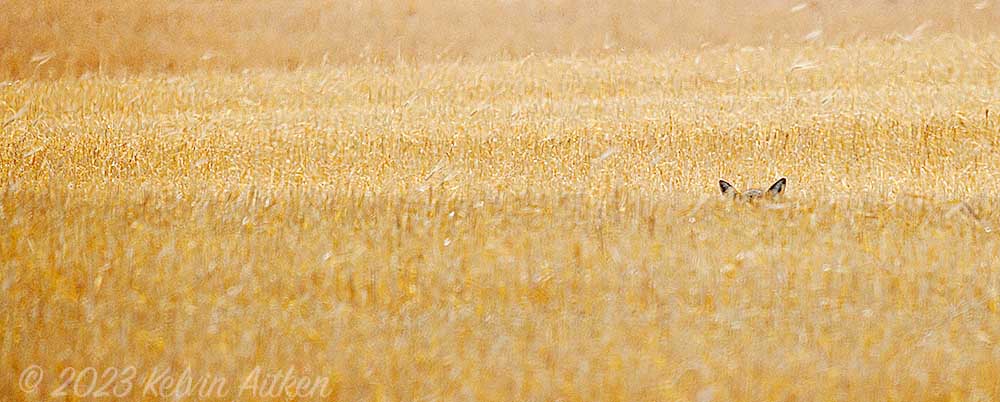
Perky coyote ears in a wheat field