
Binoculars
Practical TipsOk, I admit it. You might think that everybody knows how to use a pair of binoculars. That's true, at least to some extent.
However, there are a few aspects to consider that you may not have thought of, and a few tweaks to make best use of your most important piece of wildlife photography gear.
Yes, that's right. If you don't use binoculars, often and efficiently, then you're missing out on finding subjects, and finding subjects is what it's all about. No point having a lens and camera kit that costs the same as a new car when you can't find anything to photograph.
Let's quickly go over a few basics, just to make sure we're on the same page.
1/ Binoculars come in three categories: cheap and nasty - pretty good for a reasonable price - eye wateringly expensive, but with noticeably better optics.
The more money you throw at your binoculars, the better the end experience.
Peering through dim, cheap, water leaking, fogged up, blurry binoculars gets tiring very fast. And if your experience is irritating and unpleasant, then you won't use them as often as you should, like a pair of badly fitting shoes.
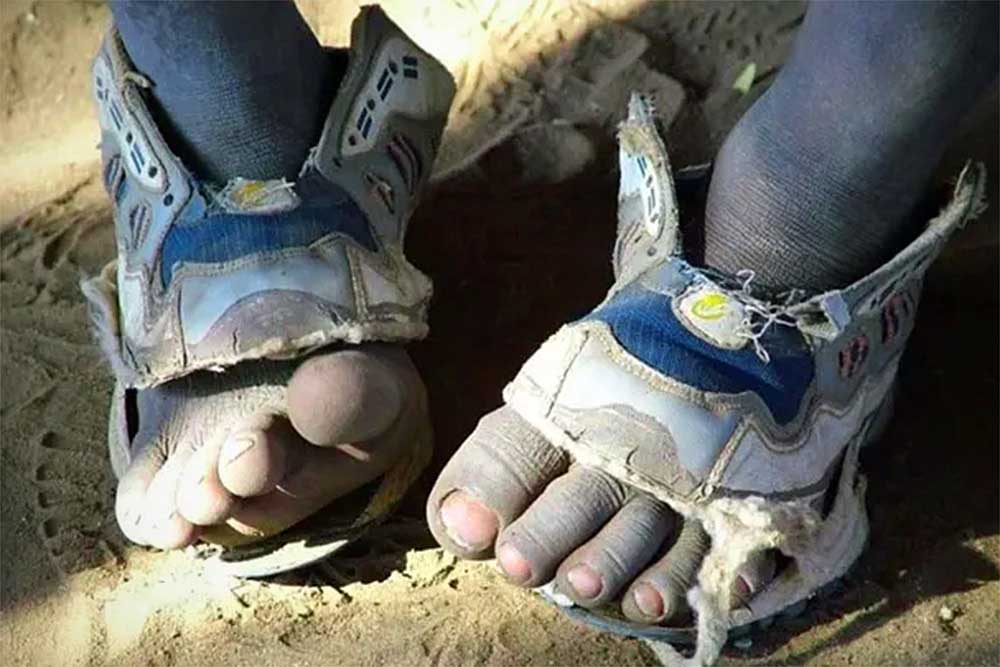
May as well not use them
In fact, when the sun is still half an hour away from rising, you probably won't even try to use them.
So buy as high end as you can afford to give you the best experience and maximise your use.
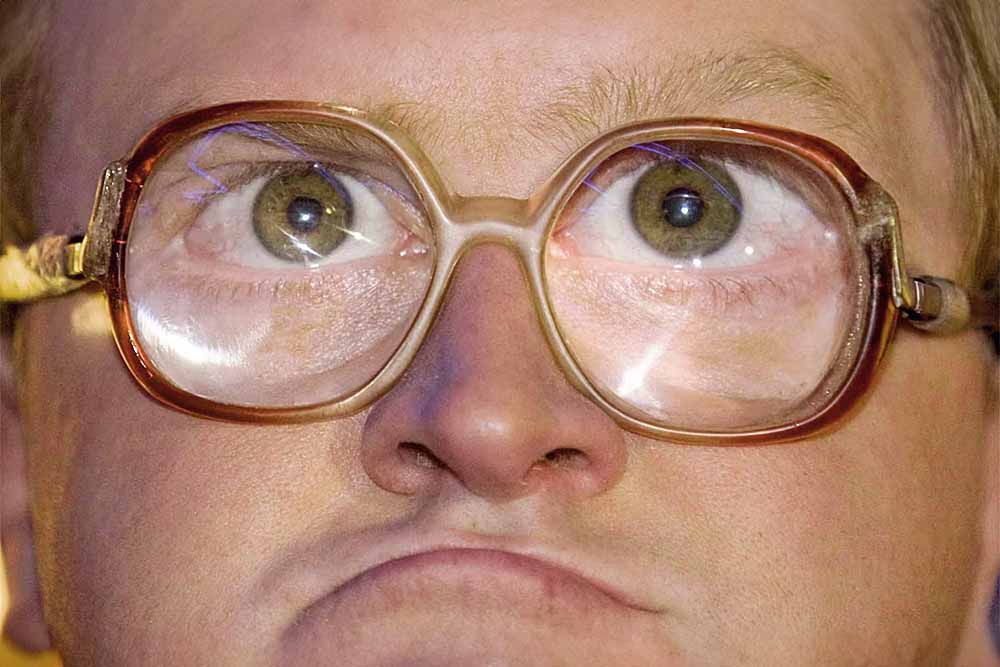
2/ If you wear glasses at any time while using your binoculars, you will need a pair that have a high "eye relief" distance. 15mm is probably the minimum you need, anything higher than that is better.
This means that the binoculars will still be useable if you position them up to that eye relief distance away from your pupil. Glasses get in the way, pushing the optics further from your eye, so having a pair that still work when they are two or three times the distance from your eye, compared to "no glasses" users, will mean that, once again, the user experience is not totally horrible, encouraging you to use them more often.
Check the specs for the binoculars you're considering to purchase. If eye relief is not given, well I guess you know the answer to the question, "should I buy this particular binocular".
If you are seeing a pattern emerging here (with binoculars that are hard to use in low light, aren't waterproof so you have to keep them covered, produce an unsharp image that strains your eyes, where you have to take your glasses off to see anything at all) then you're catching on.
3/ Binoculars are described with two numbers: magnification and lens diameter. e.g. 8x25, 10x32, 12x50.
In photography terms, that's similar to focal length and maximum aperture.
The greater the focal length or magnification, the "closer" your subject appears. But the narrower field of view requires extra effort to acquire and track a moving subject in your viewfinder. A longer lens also magnifies any camera movement, with ultra long lenses often having your subject dissapear out of your viewfinder.
The wider the aperture, the more light you receive at the business end (your camera's sensor, or with binoculars, your eye).
What you choose is personal preference. I myself prefer a 10x as I'm often in wide open grassland, meaning I'm scanning at greater distances. If you're usually in dense forest then a lower magnification will work. If you're living in the Himalayas and only photographing snow leopards that are 2km away, then a 12x might be your friend. Or a spotting scope may be better for you. See below.
Like a long photographic lens, the greater the magnification the more wobble your're going to get in your viewfinder, unless you use a tripod with all the extra weight and awkwardness that it adds.
I find that 10x is the maximum I can use without getting seasick from all the wobbling while hand-holding my binoculars, often one handed.
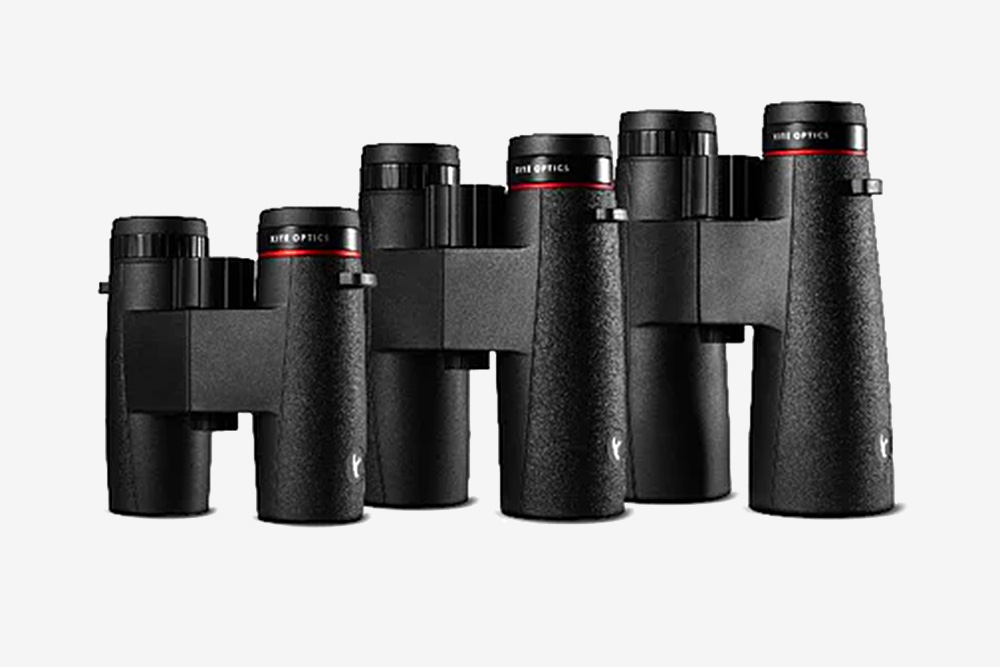
Big, bigger, biggest
Next time you're out, see if you can beg or borrow a pair from someone and see what works for you.
On the aperture side of things, bigger is definitely better when it comes to low light. If you're one of those photographers that gets up at two hours after sunrise and wanders around until an hour before sunset, then a wide aperture is not needed.
Same with your lens. You don't need an f2.8 or f4 telephoto if you only shoot in the broad light of day. You can save a lot of stress on your back, neck and arms with a lighter lens which has a smaller maximum aperture, not to mention the stress on your bank account.
There are lots of long zoom lenses, and primes, that weigh a fraction of their faster, pricey cousins, plus they cost a bucketload less.
800mm f5.6? $25,000 and 3.14kg. 800mm RF f11? 1.26kg and only $1,500. Something to consider if you aren't sitting in a hide an hour before sunrise.
While the price of binoculars is not as hugely divergent as camera lenses, there is a big difference in cost, size and weight when it comes to the size of the front element, balanced by better performance in low light.
Most often I'm up well before sunrise, so I want a nice wide aperture. Therefore, I use a pair of 10x42 binoculars, with decent magnification and, with a front lens element that's 42mm in diameter, very good low light functionality. Many times I've spotted a subject before dawn that was invisible to the eye but jumped out when using my binos.

First light - no place for cheap binos
So, once you've decided on the magnification and front element diameter, we come to the task of actually using them.
There are two settings that need to be set in order for your binoculars to give you the sharpest image (for the optics you have) and the clearest view.
Looking at the latter, each eyepiece of your binoculars needs to be optically aligned with your eyes. That means adjusting the distance between the eyepieces to perfectly match the distance between your eyes.
For a child or small person, that will mean "bending" the binoculars to reduce the distance between each tube. Don't worry, even the cheapest binoculars have the ability to do this.
If you're constantly having areas in your view blackout as you look around, chances are that you need to adjust the distance between each eyepiece.
Once that's dialed in, you may need to adjust the distance between your eyes and the eyepieces. That's usually done by adjusting the eyecups (if you have any). It may even mean taking any eyecups off to get the eyepieces closer to your pupils. This can be a curse if you've just put on false eyelashes.
Next, you need to adjust the focus distance on each eyepiece to match your eyes.
One eyepiece, usually the right, will have the ability to turn a ring of some sort to adjust the diopter, or focus distance.
With your right eye closed, focus on an object with your left eye. Then close your left and open your right eye. The image you see should be focused as sharp as what you saw with your left eye.
But chances are that they aren't the same. While still looking through the right eyepiece, turn the adjustment ring. If the image becomes blurrier, turn it the other way. Rotate it until the image is sharp. Turn it further to see it blur again then back to the sharpest position.
Now check with your left eye that you hadn't moved the main focus wheel. Check with your right again to ensure that both eyes provide an image that's identically in focus.
Finally, check the adjustment ring to see where it's positioned. Usually they will have "+ 0 -" markings. Make a mental note of where the adjustment ring is positioned so that you can move it back if it gets moved or if someone else uses your binoculars and they have adjusted them to match their eyes.
Some eyes will need more adjustment than others
Carry and Use
Neck Straps
Since we're photographers, we usually have our hands full so we need help with our binoculars. Even the cheapest models have a neck strap, rope or string that attaches to the binoculars.
Using a neck strap has advantages and disadvantages.
A neckstap is very light, compact when folded/rolled up and generally included when you buy a pair of binoculars. You can drop your binos without fear of them hitting the ground. If you see that rhino charging at you through the long grass, you probably don't want to spend time looking for a soft spot to put them down. Just drop them and swing your camera up.
The disadvantage is having another cord/strap hanging around your neck. Also, and probably more importantly, you're going to have them swinging around if you are crawling on the ground or jumping between rocks or whatever.
I personally despise neck straps. It's what makes me the delight that I am.
I do use a neck strap when hiking with my camera, but it's one of those nifty Peak Design ones that can easily unclip when I stop and sit. Not those horrible straps that come with your camera which needs half an hour and an engineering degree to take them off, or put them on. You know, the ones that are great if you're walking but poke you in the eye or cover your shutter button or get in the way of your rear buttons while you're trying to shoot.
Ugh.
When your binoculars are on a neck strap you will need covers for the eye pieces as rain, dust or snow will accumulate in them at a rapid rate since that's what's pointing skywards.
Great way to collect water when you're dying of thirst
The front elements are usually pointing down, so they won't be affected, but they can be scratched as you lie down on the ground, or they can be covered in dust, snow or whatever while you're grovelling around.
So neck straps mean lens covers for all 4 external lens elements and/or a decent lens cleaning kit.
Like I said, ugh.
Pocket Or Pack
A second method is to just put them away in a pocket, such as the pouch on your hoodie. No neck strap and probably no need for lens covers too. Pull them out when you need them, shove them back in when you're finished. You may need to re-adjust the eye distance bend as the binos are usually squished a bit in your pocket.
Having them in your backpack interferes with the ultimate principle of using them often and thoroughly through the day. If they aren't close at hand then you'll be less likely to use them.
It's similar to having a water bottle. If your bottle is not "at hand" then you're going to end up dehydrated.
Belt Pouch
Binoculars almost always come with a pouch of some kind which might be able to be mounted on a backpack strap or your belt (if you use one). That's a little more fiddly as you will have a zip or velcro to get through to the binoculars and that can be noisy and/or fiddly to get them out then back in after use.
But that will work, particularly if you have compact/small binoculars.
If you mount your pouch on a backpack strap, then you only have them "at hand" when you have your backpack on. Also, if your binoculars are larger than the compact models, it becomes impractical to have a big pouch hanging off your pack.
You could use a fanny pack setup. It works, it keeps the binos handy and protected, but it may be uncomfortable when kneeling or crouching, and definitely gets in the way if you're where you should be: on your belly.
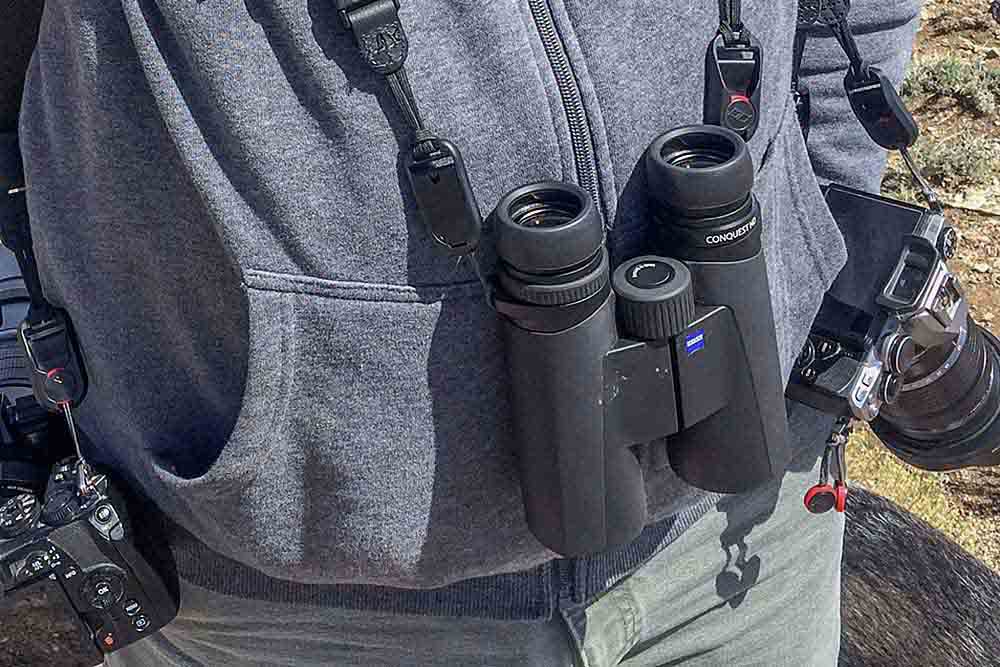
Chest Harness
You can get a chest harness that holds the binoculars so that they don't swing around. That still means using lens protectors as they are vulnerable while you crawl around to get that ground level shot.
It also doesn't solve the problem of dust, rain and snow from settling in your eyepieces. So front and back caps are needed.
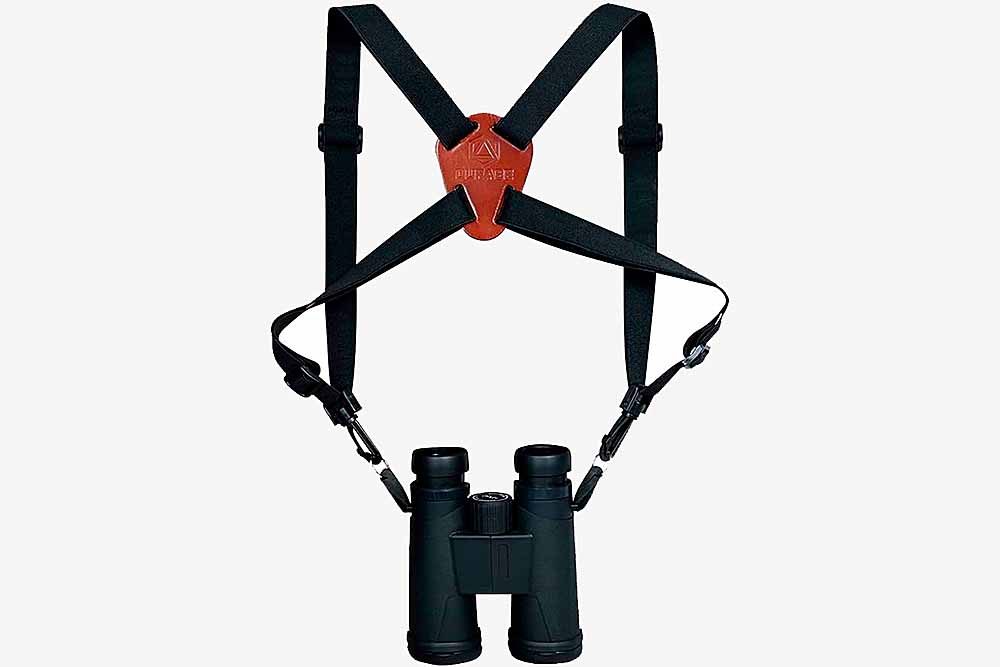
Your basic binocular harness. No swinging or flapping, but still a dust & water collector
The above negatives also apply to the commercially available Cotton Carrier. Intended, primarily, for hands free camera transport without all the flapping of a neck strap, you can use them for binoculars as well, although they don't provide any weather or dirt protection as noted above. So lens caps it is.
Chest Harness With Pouch
My personal preference is a binocular harness with a chest mounted pouch. There are a number of products available, the better ones allowing you to quietly open the top flap with one hand then quietly close it again after.
The binoculars are protected from the weather, so no need for lens covers, plus you can ditch the annoying neck strap, although you can rig it so you have both.
You can also add on other containers such as holders for bear spray cannisters, your phone, rangefinders, etc. I have a bear spray pouch on mine plus a small neoprene lens pouch to hold my extenders and rear lens caps. It also has a few side pockets to hold a lens cleaning kit, glasses and a few other bits and pieces.
The main drawback with your typical "bino harness" is that they're made for hunters, so often you will need to adjust the harness to carry the binoculars lower on your chest, so that it doesn't interfere with your camera.
I also needed to add much longer harness webbing to account for winter, as an extra 4 layers of clothing adds a lot of bulk that quickly maxes out the normal adjustments. Hunters are "fair weather" creatures, so a slimmer fit is normal.
Now there's a business idea. A bino harness for wildlife photographers. Buiilt in accessory pouches, lower position on the chest, larger adjustable harness for winter photography, add-on pouches for small lenses, lens cleaning kit, phone, lens caps, etc.
There are a lot of options around. Some are super cheap, others way overpriced. All do the same job with a few variations that should be taken into account.
First is that binoculars come in many physical sizes, short and compact, long and wide.
Measure the height and width of your binoculars and make sure your chosen chest pouch is the right size. You don't want your binos rattling around in a pouch that's too big, and you want to be able to access and return the binoculars quickly and quietly without having to squish and strain with a tight fit. The pricier models offer different sizes to accomodate the height of all binocular models.
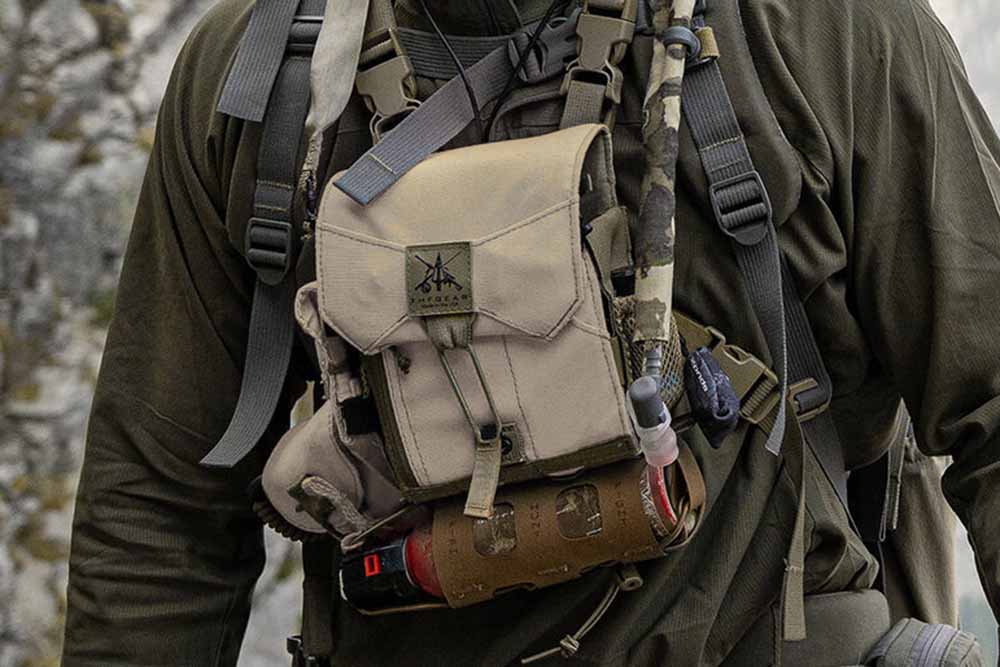
Fully loaded, hands free - binos protected with bear spray ready to go
If you go with this option, or the bare harness, put the rig on over your outer clothing layer and before you add anything else. That way you can put on or take off your backpack and/or your camera (if you're using a neck strap or sling) without removing your binocular harness. You only need to remove the harness if you're ditching clothing layers.
When you're lying prone, you would usually be propped up on your elbows to look through your viewfinder or at the rear LCD screen. The chest mounted pouch, if it's positioned properly, actually helps prop you in position without damaging your binoculars or dumping dust/dirt/snow into the eyepieces. You also still access your binos through the top flap.
Car Carry
Obviously, if you're using your binos in a car (wildlife photography from a car offers so many benefits, the main one being less impact on animals as it acts as a giant mobile photo blind) you don't need any of the above options.
But having your binos rattling around on your dash or on the passenger seat can have them bouncing off the floor or generally getting in the way. I've worked out a simple, super secret, extra cheap, mega hack to keep them safely at hand without being in the way of your camera gear or being knocked onto the floor.
$2 at the discount store for a cheap and nasty shower caddy, cut down to suit then put back together with a bit of gaffer's tape. Two small bungee cords to hold it firmly in postion, add padding in the bottom to get the binos at the right height and angle to make them easy to grab and Bob's yer uncle.
Your binoculars are safe, secure, their lenses protected and all convieniently at hand. I can even fetch them without looking. Adjust and adapt to suit your vehicle.
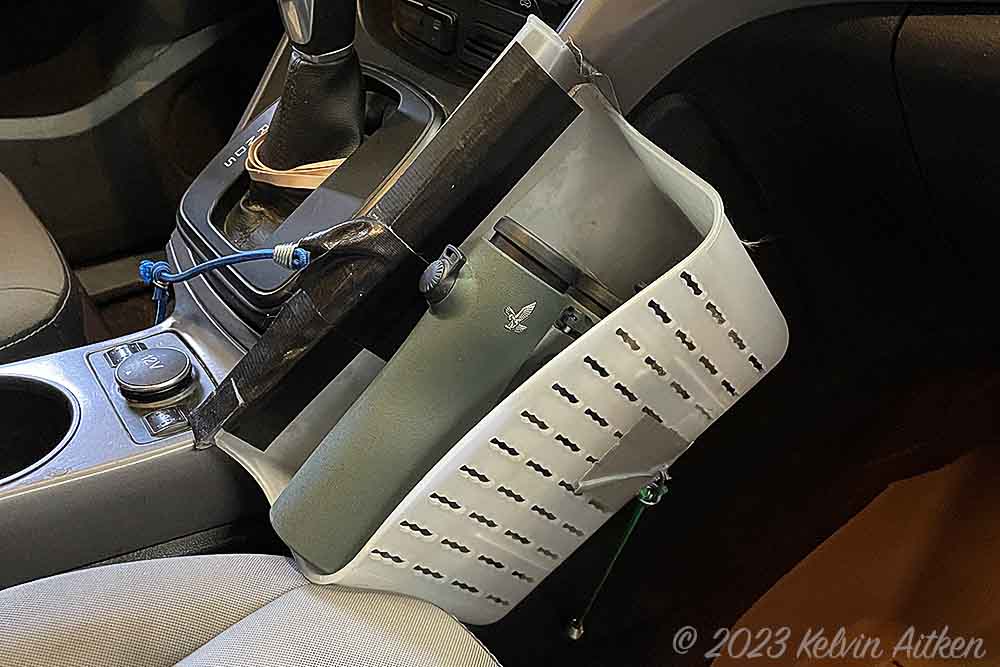
Binocular car caddy - $2 plus gaffer tape and bungees. Sweeeeet!
Scan Like A Sniper
When you do use your binos (which should be often during the course of the day) there is a handy technique which was developed by the armed forces.
Since, in our corner of the world, we read from left to right, we have a tendency to be less tenacious with our binocular scanning when we move from left to right.
It's like reading a line of text, you tend to skim across the line without taking time to closely examine every word, to the extent that we might add in or change words because that's what our brain assumes will be there. This is especially evident with people who have dyslexia or similar reading issues.
But if we were to read a line of text from right to left, then put it together in the left to right order, we examine every single word and letter. We need to be more conscious of what we're reading. It takes much more mental and visual effort.
If we scan from right to left with our binoculars, we will, if only subconsciously, tend to slow down and be more observant, looking closely at every "word and letter", if you will, not assuming that we know what's coming next so that we skip over items in our view.
Add to that a vertical scan as well, while moving from right to left, to ensure complete coverage. We should be spending a decent amount of time on a scan of our surroundings. Keep your mind and eyes open. Take your time. Concentrate. Don't ignore your senses when something, no matter how small, triggers an itch.
It's tempting to do a quick scan then move on. Force yourself to slow down. Concentrate. Don't talk. Don't let your mind wander. It will all translate into finding more animals and more photographic opportunities.
Spotting Scopes
You may have seen spotting scopes being used, often by bird watchers and hunters. Is there any advantage to having a spotting scope in addition to or instead of binoculars?
No. Well, at least not under normal photographic situations.
A spotting scope is designed to have a much narrower field of view than a pair of binoculars. They're intended for scanning distant objects and landscape, such as the sides of a mountain or distant hills. Once a subject is found, then you move in closer and use binoculars or a long lens to keep track of your critter.
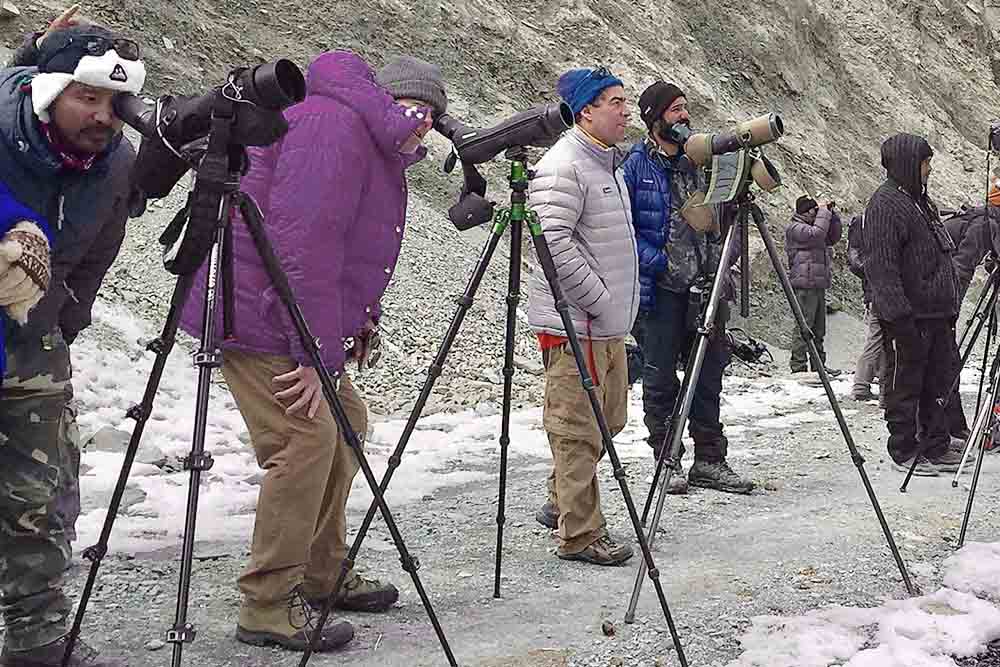
When it's all just too far away
I have been on trips were spotting scopes are used to find well hidden distant subjects. If you've seen any videos or TV shows on snow leopards you will see that spotting scopes are commonly used to find and observe the elusive, and beautifully camouflaged, mountain cat. Or wolves in Yellowstone or other such situations with distant subjects.
You may even see people mounting their phone, or a camera, to a spotting scope with a special adaptor. But, while it makes finding and observing a far distant subject easier than the "weaker" binoculars, the video or stills shot though such an adaptor is nowhere near the sharpness, clarity and quality of those captured by a decent camera and lens.
Under normal photographic situations, the addition of another heavy, bulky piece of gear, that also needs a solid tripod, does not justify their inclusion. Not to mention the extra $$ for the whole setup.
Sure, there are some situations where they would be good to have, as noted above. Or, if you are a bird nut, they will let you closely observe small birds that are keeping their distance or they provide a closer view of any skittish or dangerous subject such as a grizzly bear on an elk carcass.
But for your average wildlife photographer, they aren't necessary to find and photograph critters plus they will not give you a quality photograph. If you do have one on an expedition, make sure someone else carries it, sets it up and packs it down. You don't need that grief. Buy them a beer when you get home.
Cold Weather
Besides the issues mentioned above with the need to cover and protect your eyepieces from rain, dust and snow, there is one other annoying issue that can arise, no matter what method you use to transport your binoculars: fogging up your eyepieces by breathing on them, more so in extreme cold.
Obviously, in warm weather, if you fog up your eyepieces by breathing on them or from tears due to a cold wind, it's a simple matter of waiting a few seconds to let them clear, or give them a wipe with a cleaning cloth.
But if you're in the good type of weather, -15 or below, your breath will form a layer of ice on the glass. The only way to get it off is to scrape it, which will probably damage the glass and/or coating, or warm them up enough to melt the ice then carefully clean it off with said cleaning cloth before it freezes again.
The simple solution is to not breath out over, or onto, your eyepieces.

Enough said
The Bottom Line:
Just like camera gear, it doesn't matter what brand or model of binoculars you buy. It doesn't matter how you tote them around or how much you spend.
What does matter is that you use them - often, persistantly and thoroughly.
Keep them accessable, keep them clean. Keep them safe.
Take a breath, slow down, scan slowly - reap the rewards